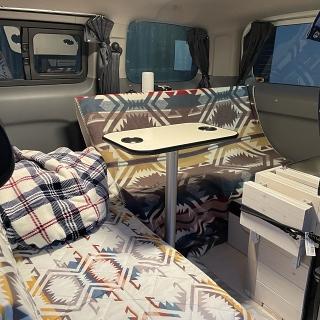
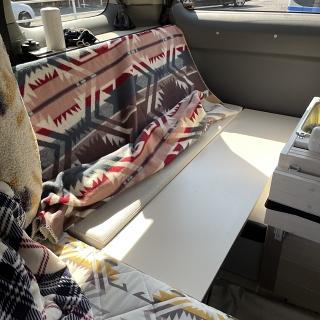
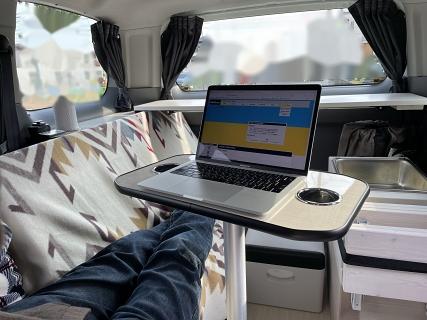
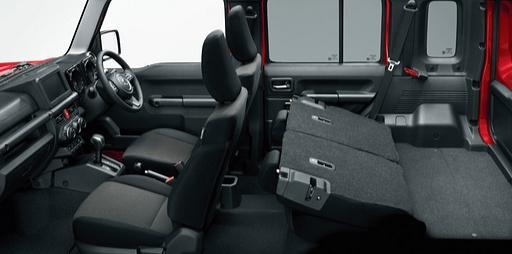
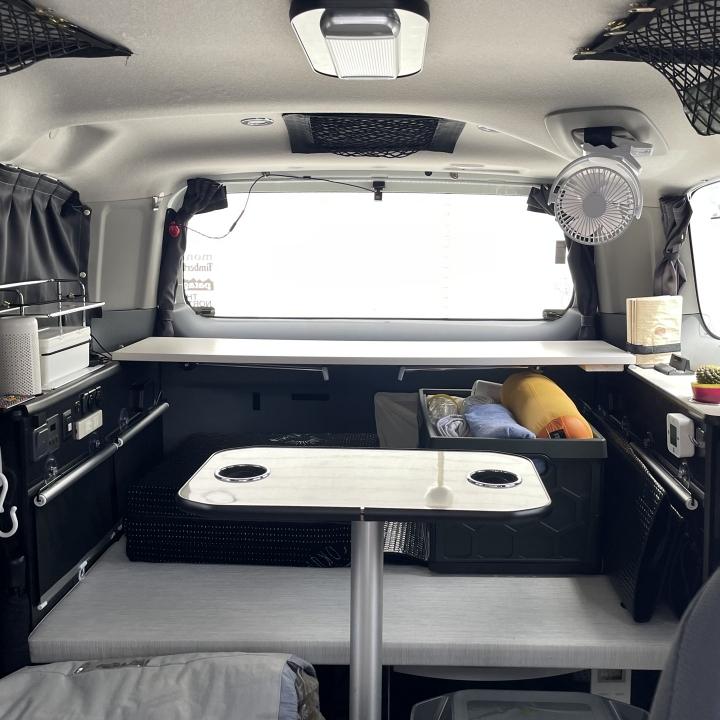
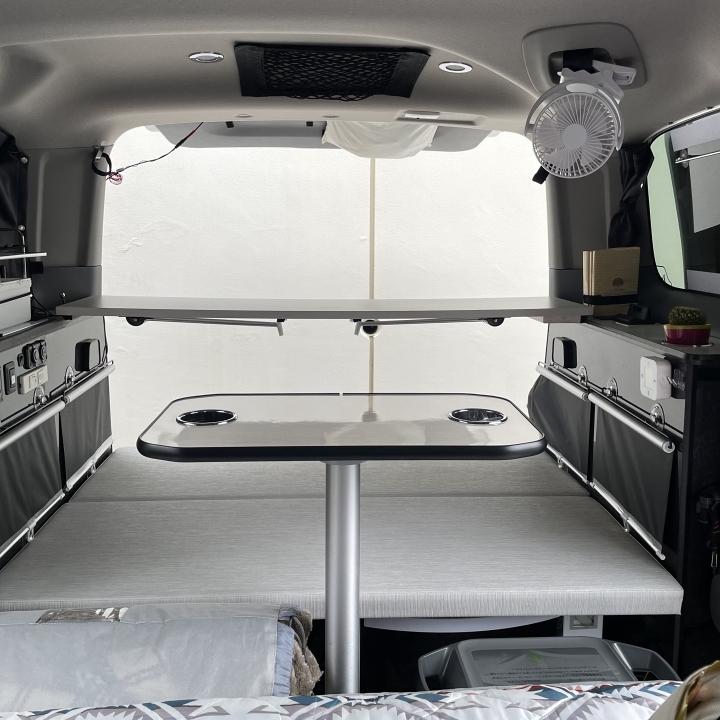
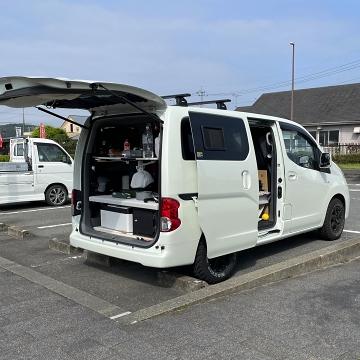
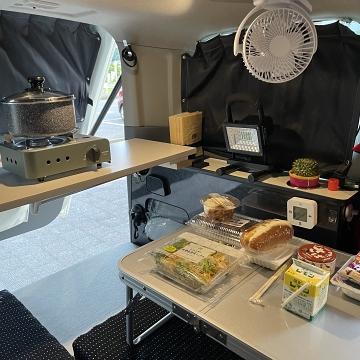
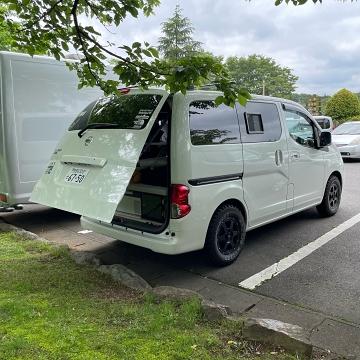
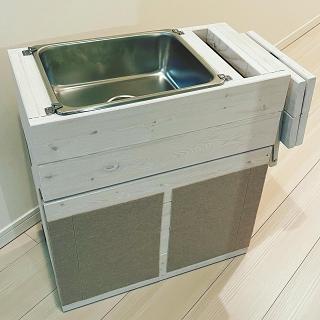
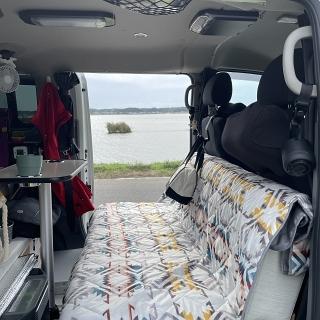
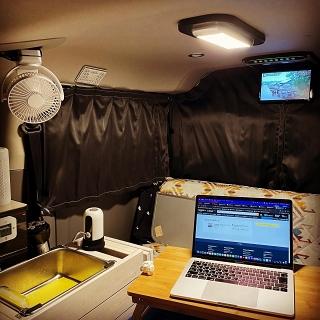
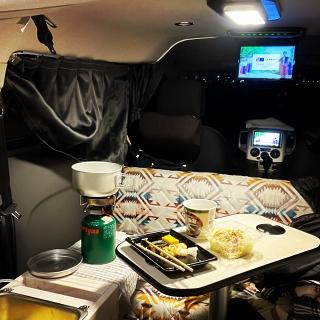
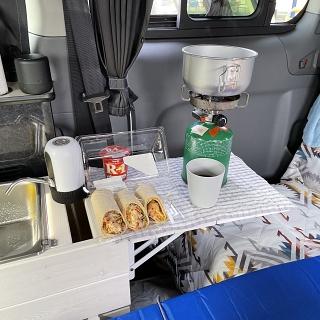
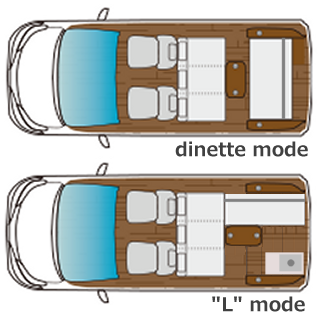
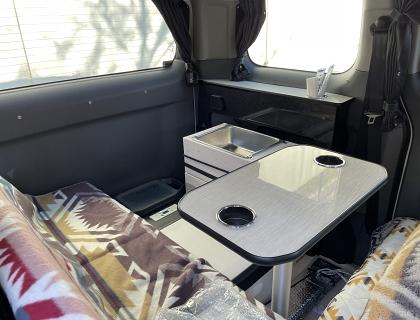
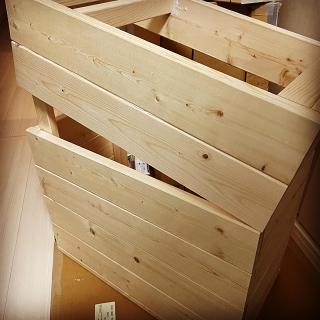
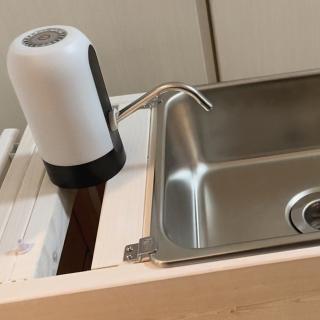
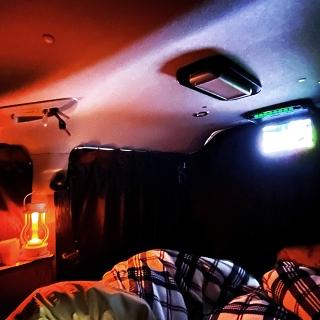
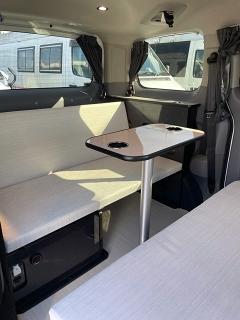
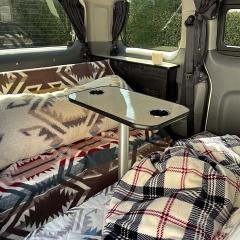
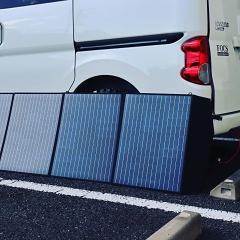
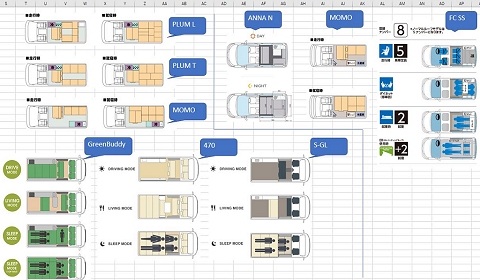
NV200キャンパーのL字型シート配置("L"モード)は納車当初より(いや、この車両を選択した当初かもしれない)頭に描いていた構想であり、
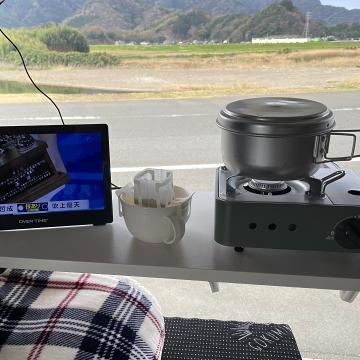
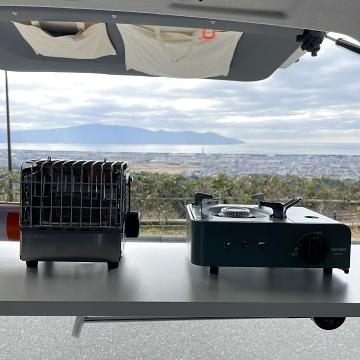
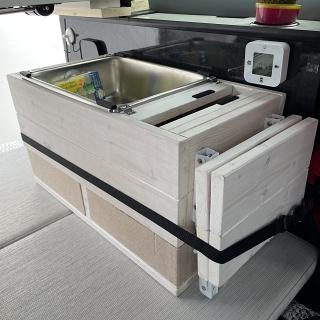
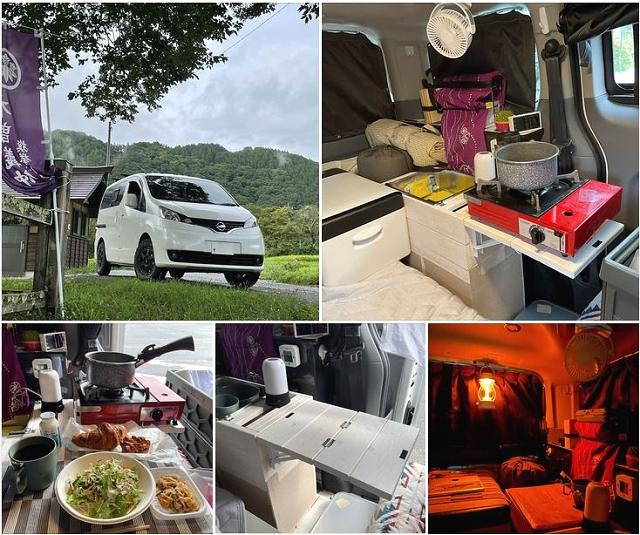
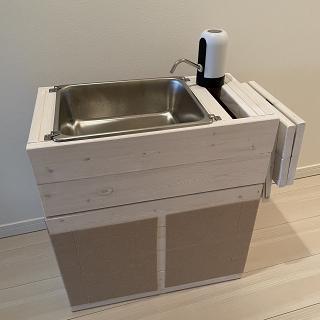
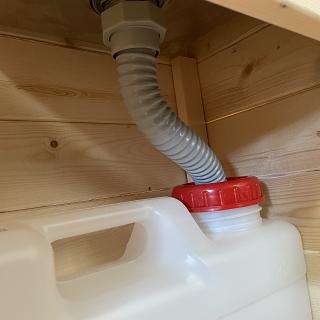
ポータブルギャレーもこの配置を前提に製作したものであった。実際レイアウトしてみると対面式のダイネットモードより空間を広く使える。すっかり気に入ってしまいここ二週間ほどはずっとこのレイアウトのままになっている。今後も我が車の標準レイアウトになりそうで、少なくともソロで出かける際にはこのレイアウト一択になる気がする。
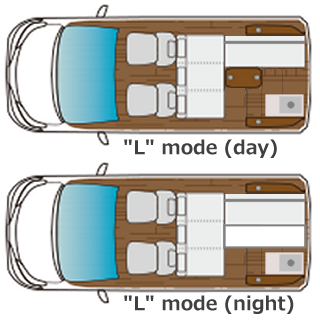
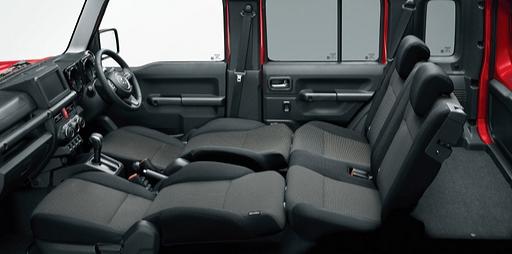
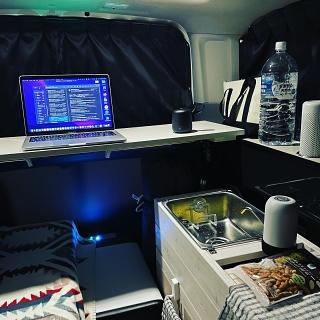
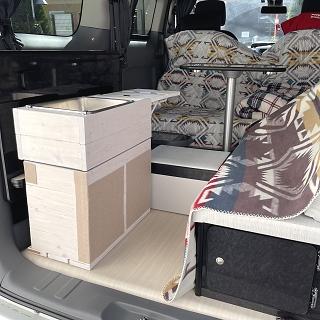
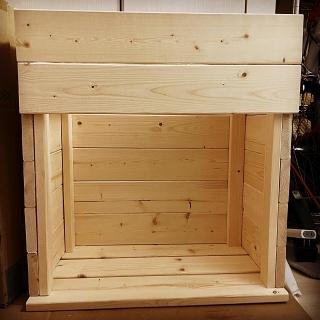
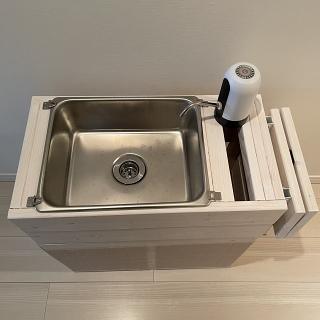
このシートレイアウトの欠点は、日中過ごすのは快適である一方で、このレイアウトから標準就寝レイアウトへの変更に手間が掛かることである。特にギャレーを分解撤収しないといけないのは致命的な手間である。また横向きベンチシートだけでは座面幅が狭すぎて寝返りが打てず、就寝スペース(ベッド)としては不十分なのである。
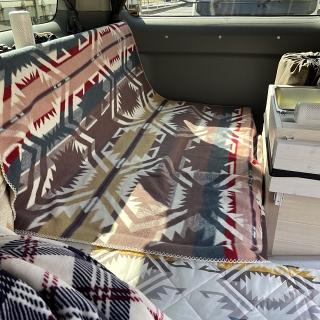
めんどくさがりやな自分はこのLモードレイアウトのまま就寝可能となる簡単な方法がないか思案した。行きついたのはベッド用ボードの追加である。テーブルと横向きベンチシートの足場となっている空間にフィットし、シート高さと合わせた追加ベッドボードを用意して、就寝時にはテーブルを外して追加ベッドボードを設置することで長手(サイド向き)配置の椅子座面と合わせた就寝空間を確保する企てである。追加ベッドボードの幅はギャレーを(撤収せず)残したままにできるよう寸法を決める。それでも少なくとも一人がゆったりと寝れる"ベッド幅"は確保できる計算だ。
The "L" mode sidew bench layout has been something that has been on my mind since I got this camper, or maybe even at the point of choosing this model. The
portable sink galley was actually designed with this layout in mind. In actually setting up this layout, it's much more spacious than the standard dinette mode. I like it so much that it's been the fixed layout this couple of weeks, and looks like it's going to stay that way as the standard setting, especially for solo traveling.
The down side with this layout is that though it's comfy spending the day, it's not an one-touch conversion to the standard sleeping layout. Dismantling the galley is especially something that needs avoiding. The width of just the side bench seat is also too narrow to act as a bed.
Being a lazy person, I needed to find a way to configure this layout into a sleeping setting without a drastic change. After a while of staring at the interior, the idea of an additional bed board came to mind. Placing a bed board next to the side bench will add width to the seating surface and turn it into at least a single bed. The galley will keep it's place since the bed board will be designed to fit right in between the bench and galley.
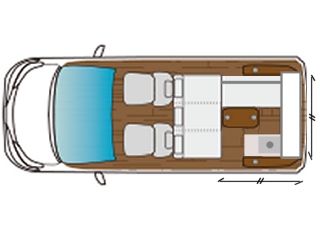
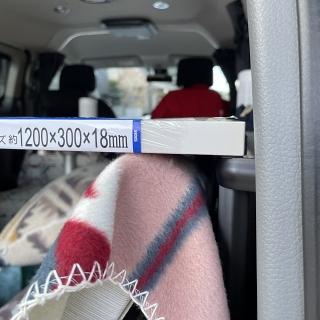
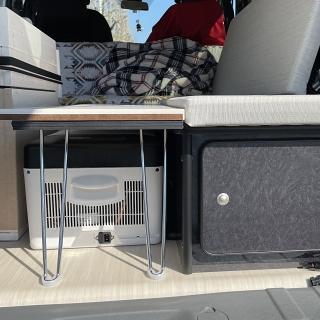
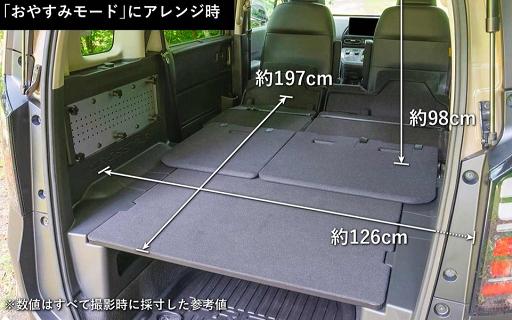
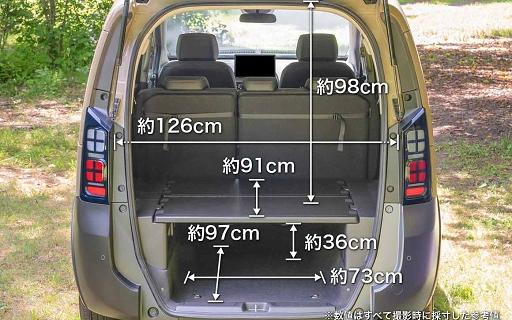
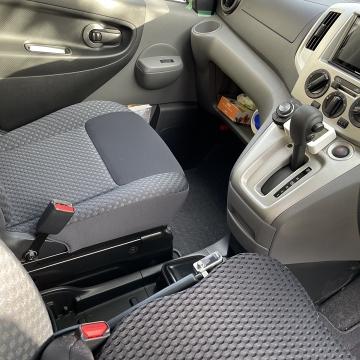
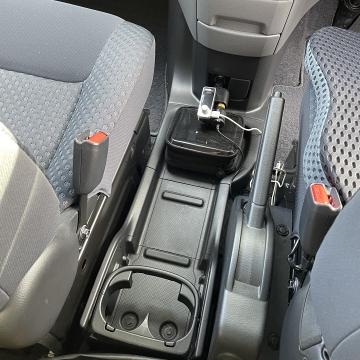
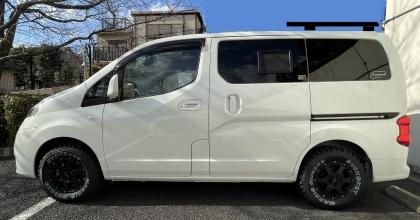
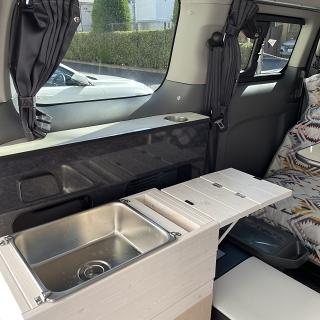
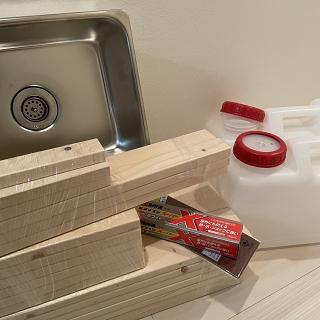
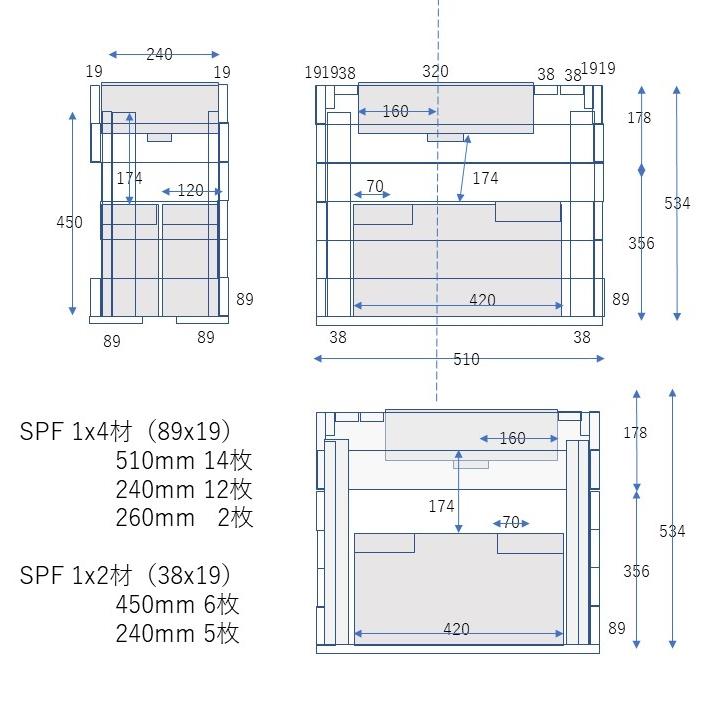
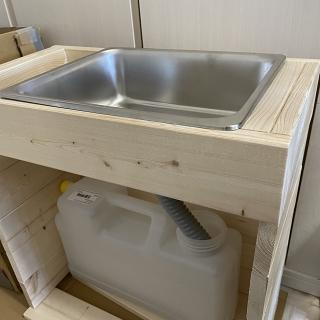
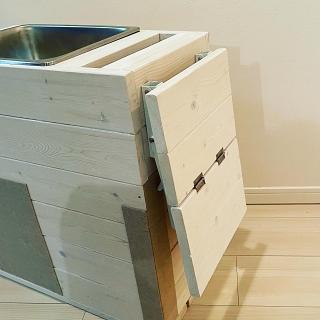
セカンドシートを前方に詰めるとリアハッチまでの距離が120cmなんとか確保できるので、ボードの長手寸法を120cmとした。この120cmという寸法が後々肝となってくる。またシートとギャレー間の幅は35cm弱であるが、少し余裕を見て30cmとした。そして未使用時の収納性を考えて高さ約33cmの折りたたみ式テーブル脚を取り付けて板厚と合わせて高さ方向はートと面一を目論む。
I measured the length of the bed board to be 120cm, which is achievable by pushing forward the second seat. This 120cm becomes key, which will be explained later. The gap between the bench seat and the galley is about 35cm, and I decided the board width to be 30cm to keep allowance. I chose a set of folding table legs that would give the board a height of 33cm when in use. the height would be just about the same height as the bench seat.
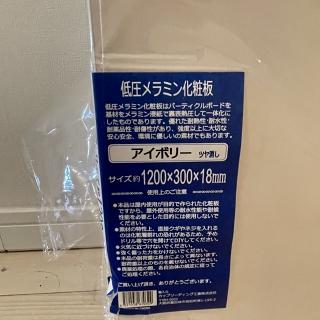
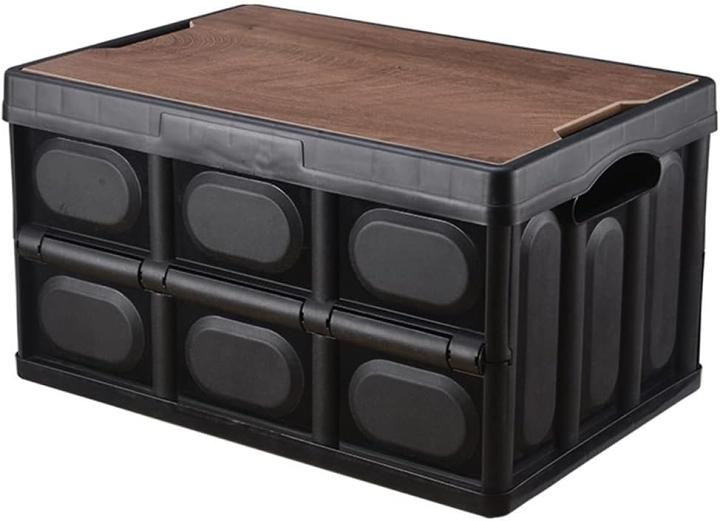
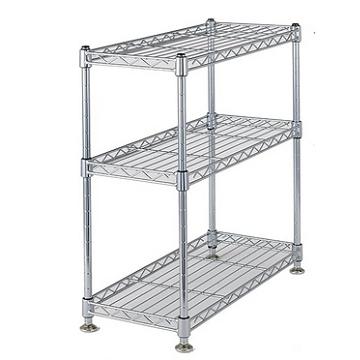
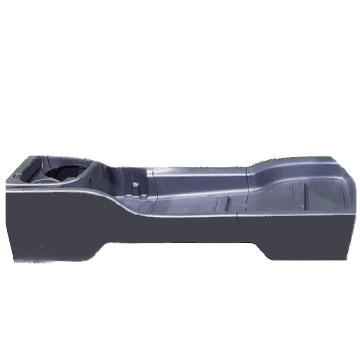
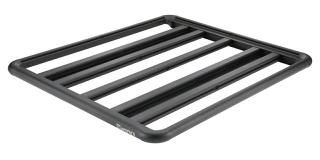
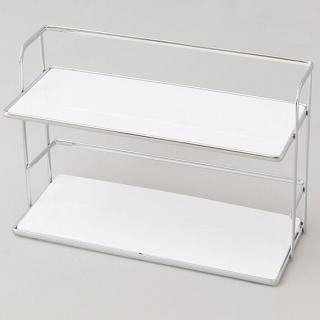
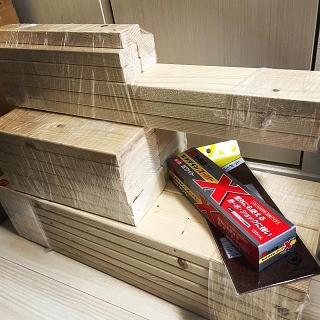
ベッドボードに使う化粧棚板は当初アイリスオーヤマ製のそれにちょうど120cm x 30cmのものがあり軽量だと情報があったのだが、Amazonのレビューを読むと耐久性に難がありそうだったので不採用として他を探していたところ品質が良さそうなノーブランドな代替品が見つかった。
I found a stock table board of 120cm x 30cm size on Amazon, and I picked up a no-brand one over the Iris Ohyama one which was said to be lighter but had quality and packaging issues by the reviews.
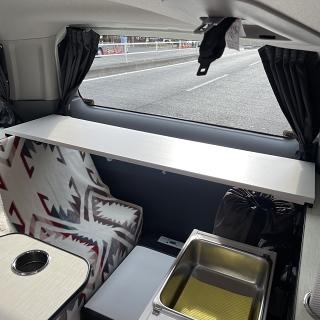
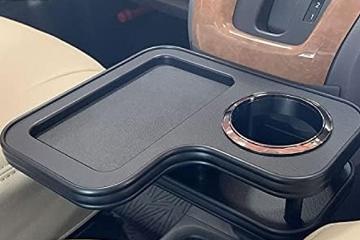
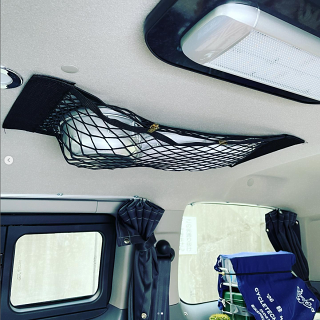
さて、このベッドボードは日中の未使用時には無用の長物となり収納するにもかさばる。横向きベンチシートの背もたれの後ろに隠すという手もあるが、有効利用できないものかと悩んでいたところ、同じFOCS Luzユーザーが左右のリアシェルフを橋渡しする棚を設置して簡易テーブル兼荷物置きに使っていることを知った。そしてこの橋渡しの為に最適な棚の長さが120cmなのである。
先に120cmという長手寸法が肝になるという話をしたが、この一石二鳥を実現させるために、長手寸法120cmが必要なのである。逆の言い方をすれば、ベッドボードが実にシンデレラフィットなリアシェルフに変身するベッドボード兼リアシェルフが実現できるのである。
Now, an issue that had to be solved was where to store a 120cm board in the daytime when not in use as a bed. Once choice was to look for a place to hide it, but it would be better to make use of it rather than put it away. As I was searching, I found out that other owners of the same model camper were adding rear shelves that span across the width of the car, and can be used as a table in addition to the storage shelf.
Guess what...the length (width) of the shelve/table that's bingo for the NV200 happens to be....120cm !
The 120cm that was just the right size for the bed board is also the just fit size for the rear shelf, making it possible to kill two birds with one stone, a bed board and rear shelf.
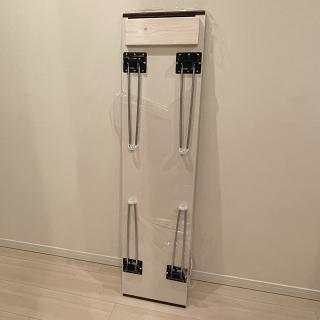
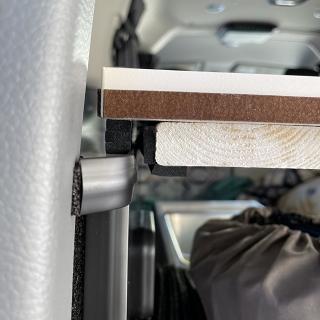
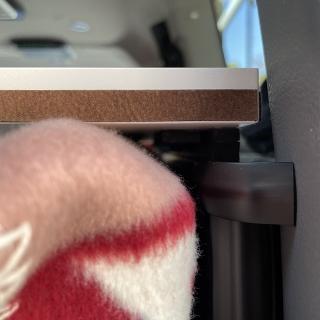
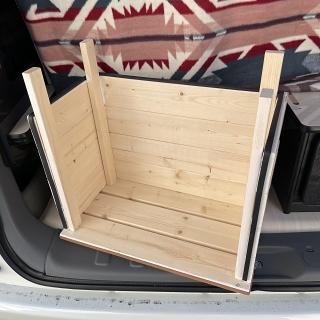
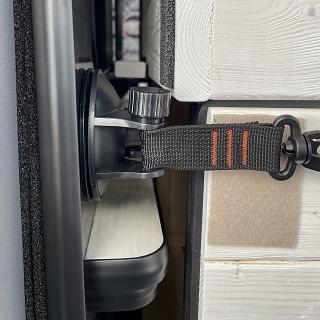
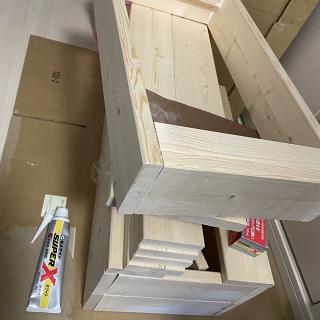
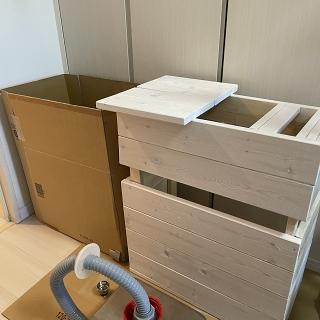
入手した棚板はシッカリした作りで耐荷重(体重)的には大丈夫そうだ。その分重いので配置換えには少し気を遣いそうだ。メラニンボードなので表面が少しラメっていて質感がある。板を仮設置して寸法出しを行ったうえで、まずはベッドボード用の脚を取り付ける。このタイプの脚はしなりが大きい為体重を乗せた時にたわむことがのちにわかったが、致命的ではないのでヨシとする。また棚として使う際に横向きベンチの背もたれとの干渉を避けるために滑り止めのゴムを少し嵩上げして取り付ける。横方向のズレを回避するストッパー板を追加すればベッドボード兼リアシャルフの出来上がりだ。
The table board that came is sturdy and looks strong enough to hold my body weight as a bed board, but needing a bit of strength moving it around.. Looks nice too being a melanin board with a gloss surface. After pre-fitting the board in the car, the table legs were screwed on. It turns out folding table legs are flexible to weight, but luckily wasn't a show stopper. I added rubber edge guards that act as stoppers to keep the rear shelf fixed while the car is moving, and also to gain a little height to avoid the seat back of the bench seat.
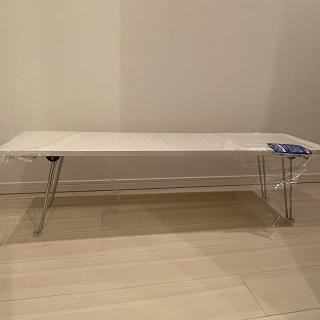
With the DIY finished, the bed board/rear shelf is complete.
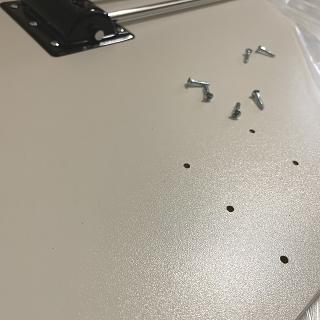
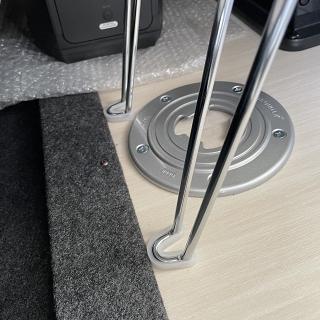
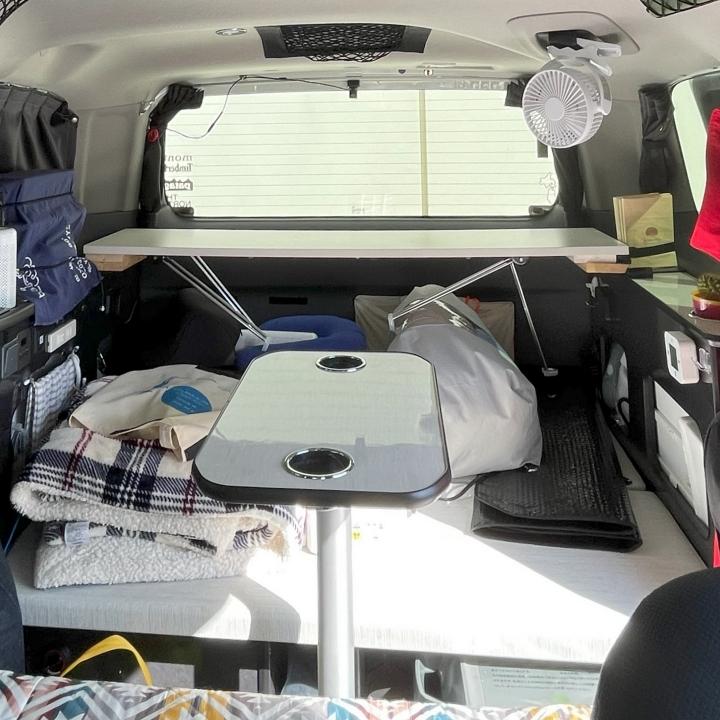
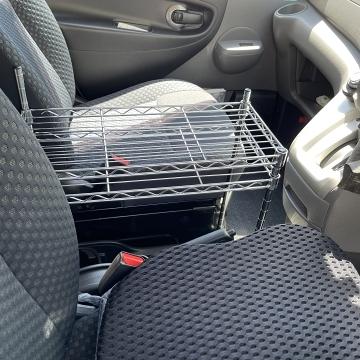
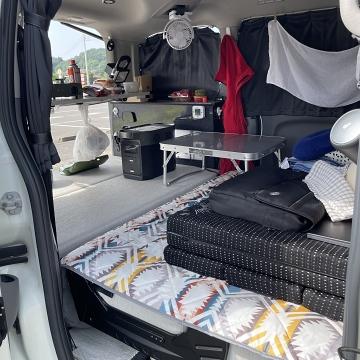
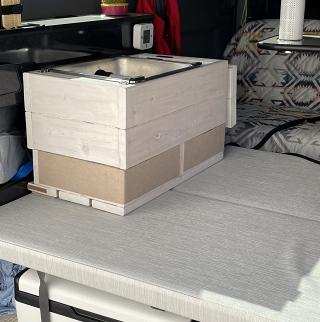
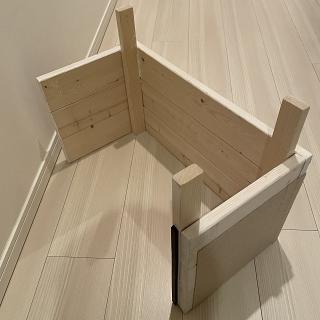
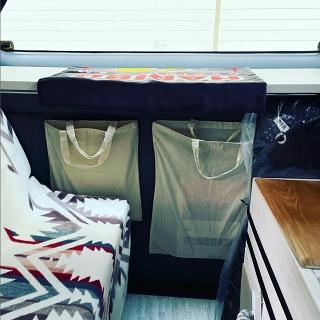
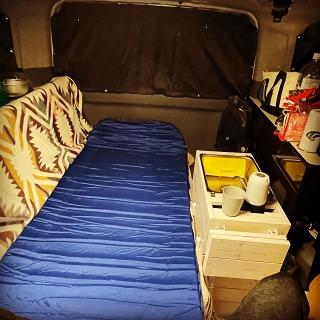
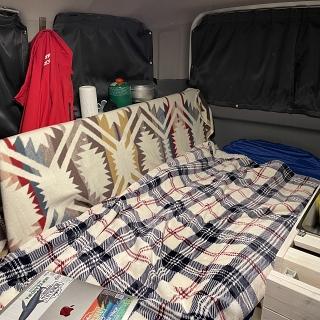
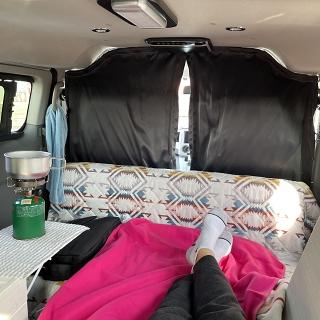
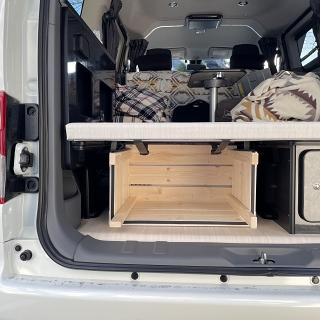
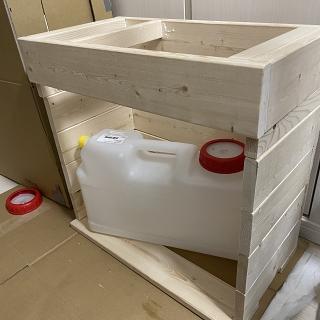
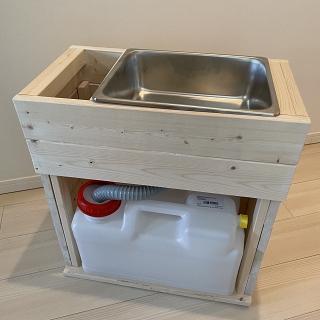
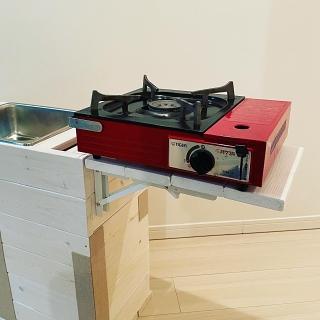
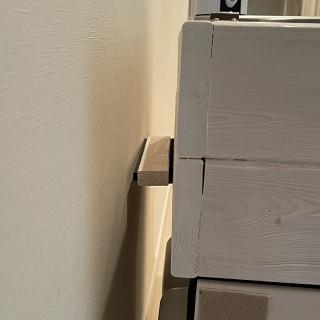
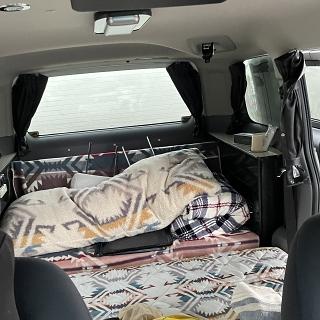
事前に位置合わせを行なっていたこともあり、ベッドボードはほぼ想定通りのフィット感で車内に収まった。
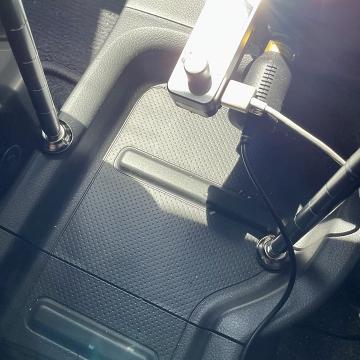
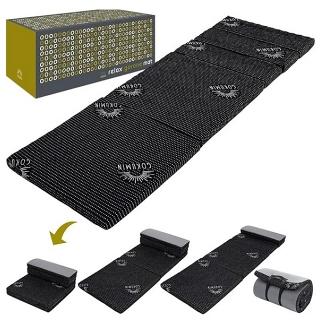
ベッドボードの脚も想定通りテーブルの固定金具を避けて設置できることができた。高さが若干合わないのはクッション代わりに敷物を敷くことを想定してのこと。
Since I had pre-fitted the board, the completed bed board went in with a snug fit as planned, with the board legs avoiding the dining table stem base as calculated. The height is slightly lower tan the bench seat which will be compensated by the thickness of the blanket laid down as a mat.
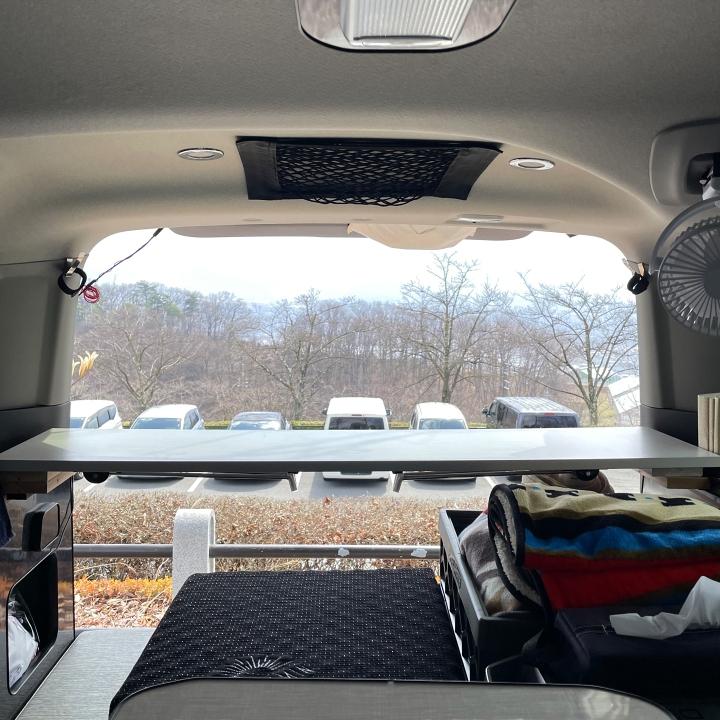
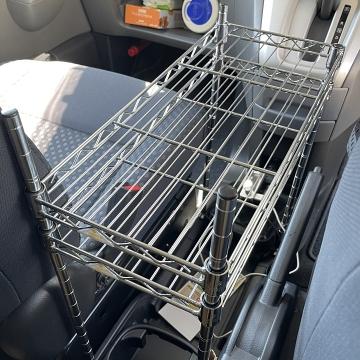
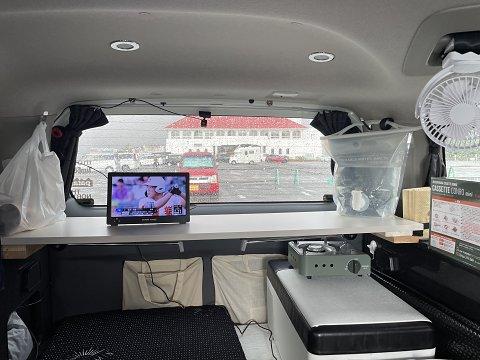
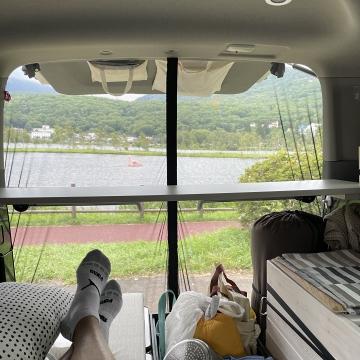
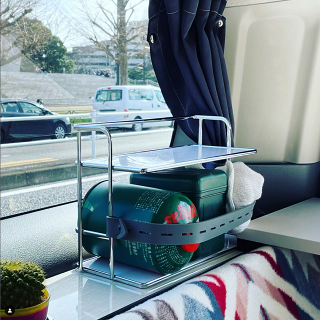
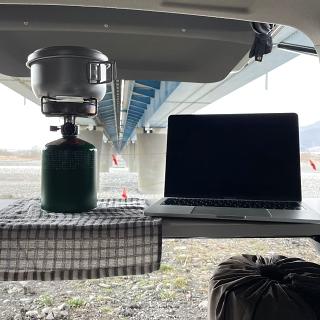
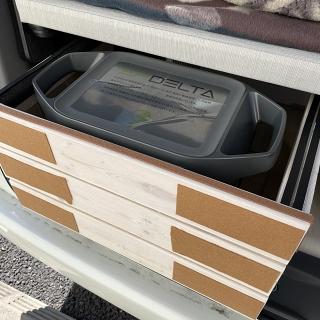
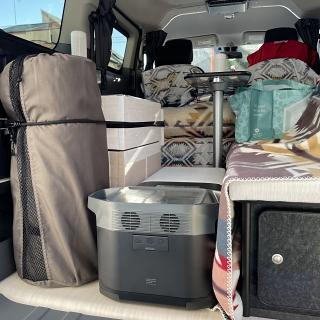
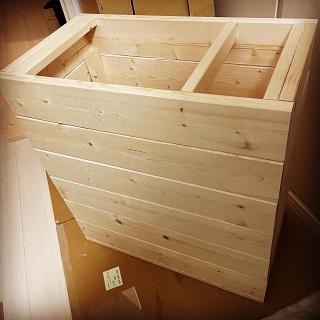
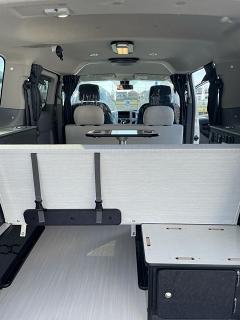
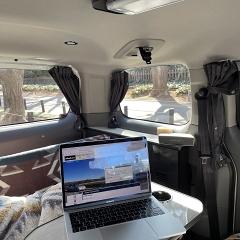
リアシェルフも事前位置合わせ通り、室内両側の家具にぴったりフィット。120cmという寸法のピッタリ感は実に気持ちがいい。
ベンチシートの背もたれを避ける為に少し嵩上げが必要であるが、嵩上げ量は最小にしたいところ。今後調整してくとしよう。
The board as the rear shelf is also a perfect fit, and the just right width of 120cm feels so good. The height gain to avoid the seat back of the bench seat needs tuning, but hoping to keep it minimal.
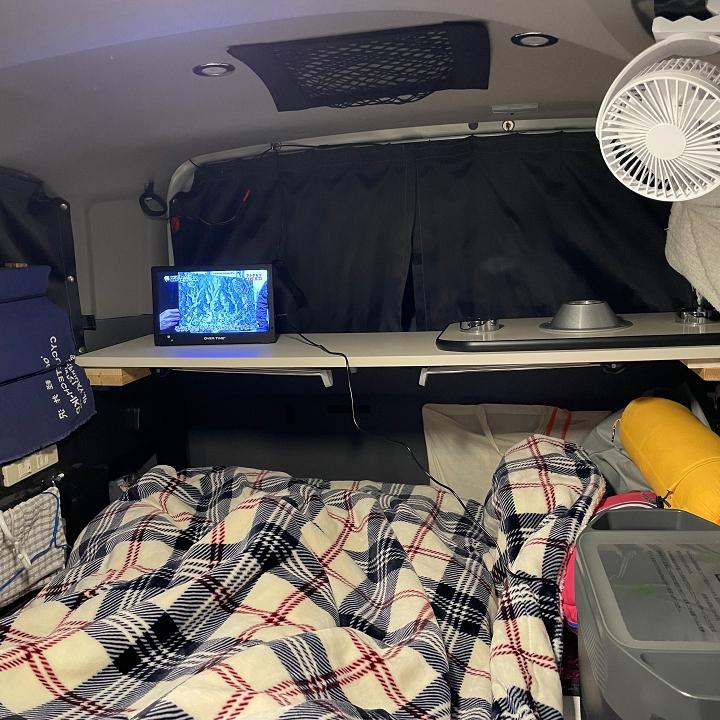
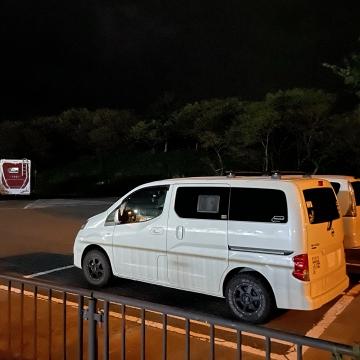
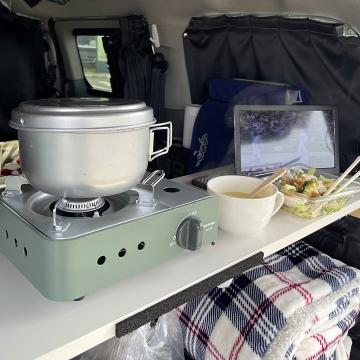
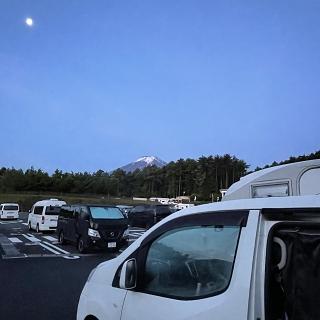
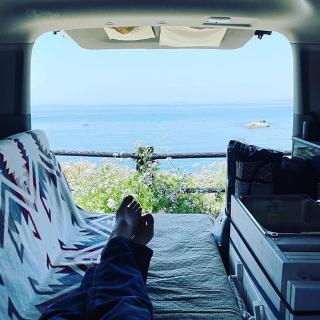
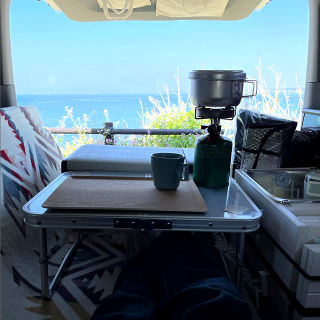
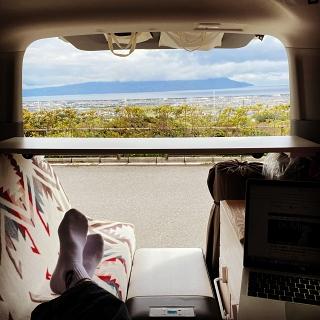
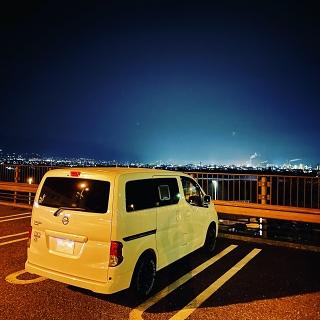
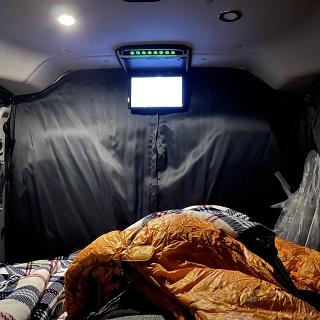
これでソロ車中泊の準備がほぼ完了した。早く出かけたい。
My living quarter for the solo auto camp is about complete. Eager to head out adventuring.


最近のコメント
続きを読む
続きを読む
続きを読む
続きを読む
続きを読む
続きを読む
続きを読む
続きを読む
続きを読む
続きを読む